Extract brewing is easy, and doesn’t need much by the way of equipment, right?
All Grain brewing, on the other hand, is complicated, for experts, and needs a proper brewery set-up.
Wrong!
I am writing this post because I want to show you just how easy it can be to get into All Grain brewing.
Some years ago, those crazy Aussies came up with the idea of Brew-in-a-Bag brewing, or BIAB for short.
So what is BIAB?
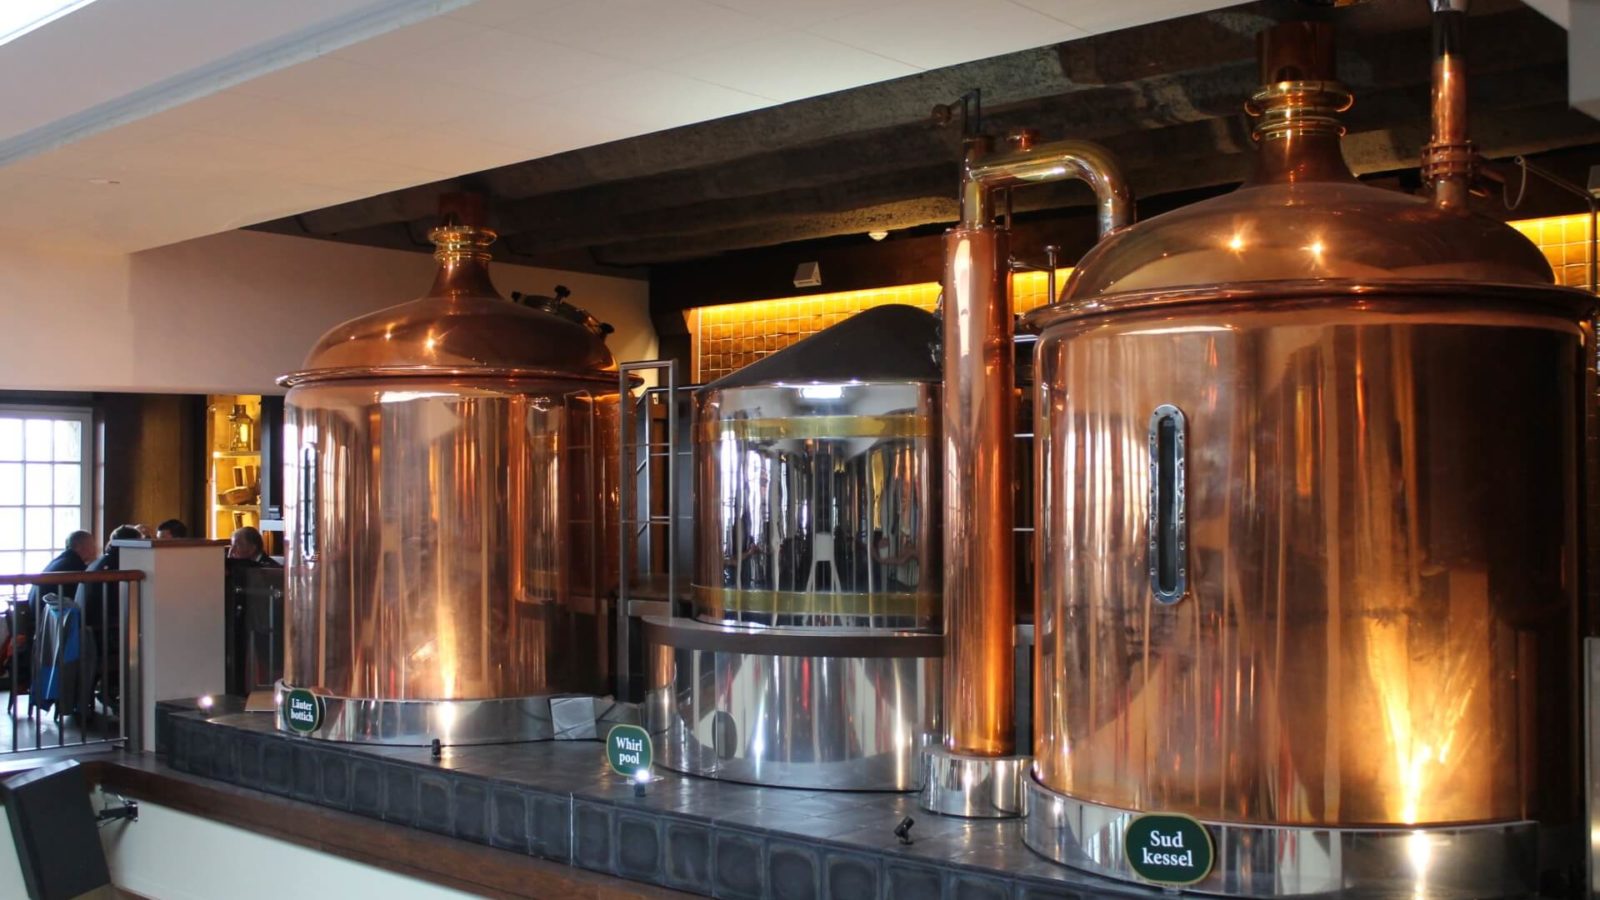
What we think of as traditional brewing uses a vessel, the mash tun, for mashing the grain, which is then sparged, creating wort. The wort is then boiled, along with hops, in a separate vessel. The resulting liquid is finally cooled, and then yeast is added and the magical process of beer brewing begins.
What I love about BIAB is it removes the need for some of these steps and some of the equipment. And with this, it also removes most of the barriers to entry.
(I suspect that, rather than being innovative, BIAB is probably closer to early beer brewing methods, and that conventional brewing techniques are the innovation. Just a thought…)
My BIAB Set-up
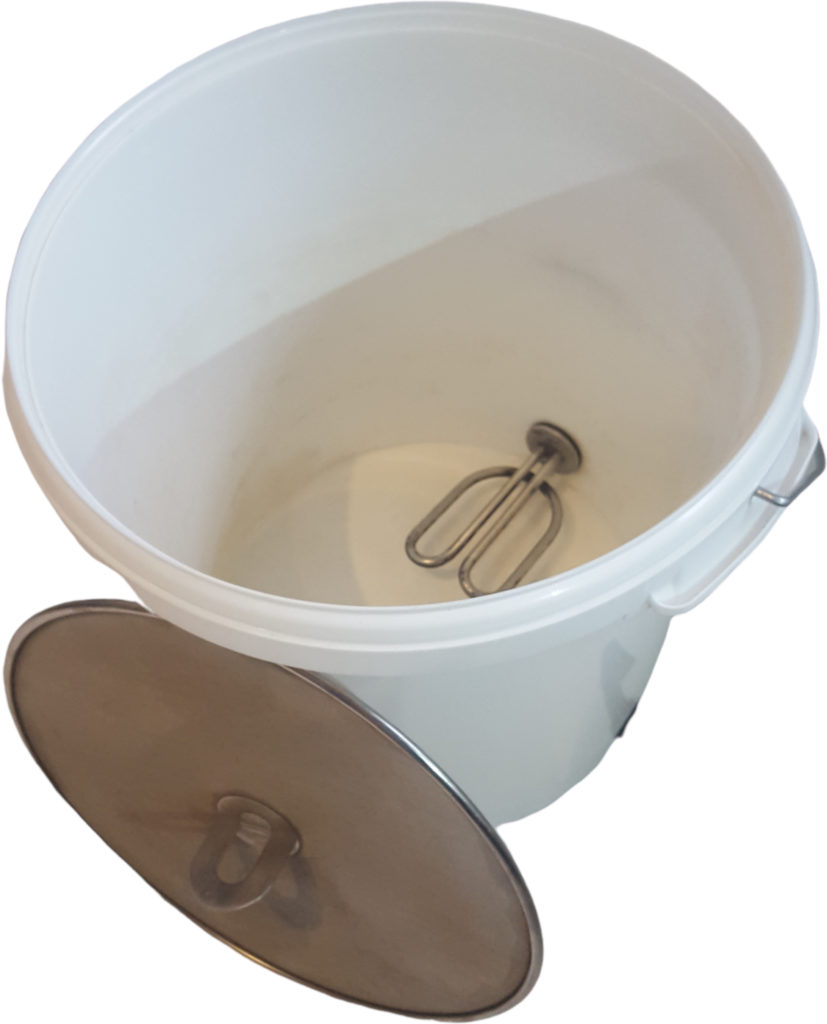
I use a normal fermenting bucket, which has a heating element fitted, along with a heat-resistant tap at the bottom.
I bought this ready-made, for around £70. You could make one like this yourself, without too much difficulty, but I don’t think it would be much cheaper.
I’ve also heard of brewers making them from large insulated cool boxes, or “eskies”, of the sort you’d buy from a camping shop.
Or you could use a big stockpot on your stove in your kitchen, or some brewers use a burner fueled on bottled gas, in their garden.
You’re also going to need a large grain bag that fits tightly around whatever vessel you are using mashing your grains.
Anyway, the process is this:
BIAB – The Mashing Stage
- In a brew kettle, bring the required amount of water to temperature, depending on your recipe. It’s usually a good idea to aim a couple of degrees above your target; when you add your grain the temperature will drop slightly.
- Place a false bottom inside the kettle, unless you want burnt grain and grain bag stuck to the bottom of your kettle. Then fit your large grain bag around the rim of the kettle.
- Pour your grain into the bag, slowly, and stirring well, to avoid dough-balls.
- Keep the grain steeping in the bag for the correct amount of time according to your recipe, making sure the mashing temperature is held. (This more tricky in winter, so I wrap my kettle in one of those silver foil survival blankets.)
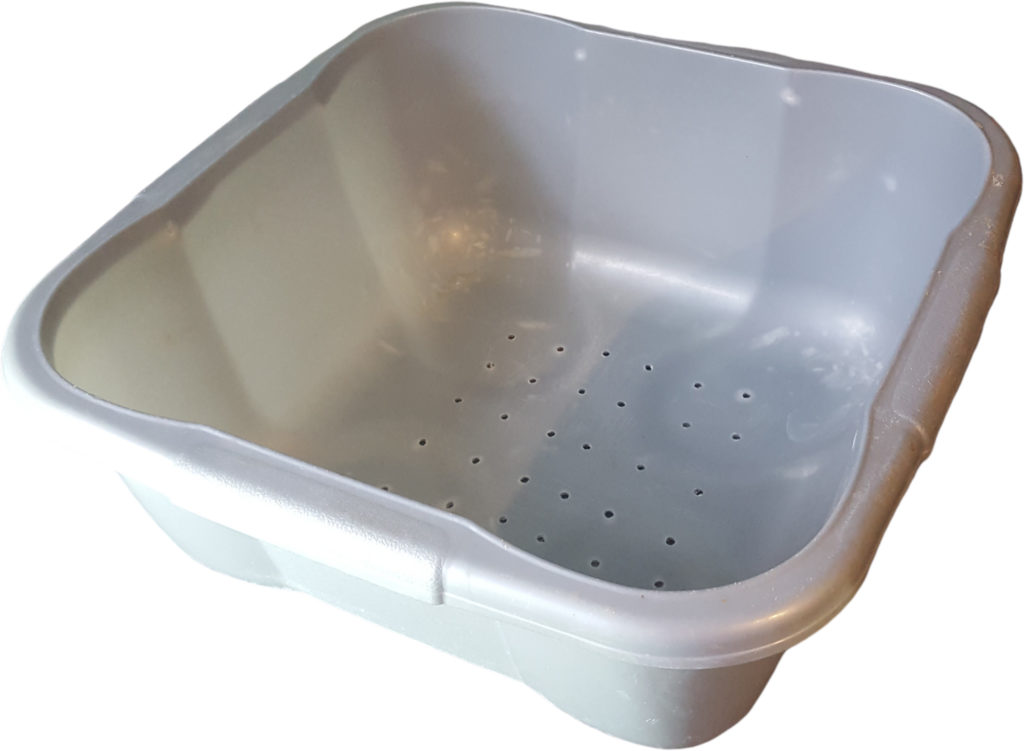
- Remove the bag when mashing is complete, and allow it to drain. The bag is gonna be heavy, be warned, especially when you’re making high gravity (read: strong) beers. You may like to create a pulley set-up to save your aching arms. I made something a bit more low-tech, from a washing-up bowl that I rest on the kettle after steeping, and leave to drain…
BIAB – The Boiling Stage
You’re doing well. The next stage is, if anything, easier.
- Having removed and drained your grain bag, bring the remaining liquid to a rolling boil. How long your boil should be will depend on your recipe. But it will generally be between 45 minutes and 90 minutes.
- Now that the liquid is boiling away nicely, it’s time for you to add your hops. I would recommend that you place your hops in hop bags or a hop spider, to avoid burning them. (By the way, many recipes call for multiple stages of hop additions, but I don’t want to confuse matters right now.)
- Don’t turn your back! Keep an eye on your boil, as it can boil over in what we call the hot break. I find this most likely to happen after hop additions.
- 10 minutes before the end of the boil-time, add a Whirlfloc tablet (or some Irish Moss, but in my view tablets are much more convenient. (This is to clear your beer – it’s by no means essential but is aesthetically better.)
- Cool your wort. You can do this with a wort chiller, or place the kettle in icy-cold running water. The latter is obviously not a great option if you’re using an electric kettle like myself. If the quantity of wort is lower than you wanted, you can also chuck in a load of ice. (Make sure it’s good, clean ice, from boiled or distilled water.)
BIAB – the Fermentation Stage
- You’re nearly there! Your wort is chilled down to the right temperature for fermentation. From here, it’s more-or-less the same as extract brewing. So, next, clean and sanitise your fermentation vessel, and get your yeast ready.
- Decant your wort into your fermentation vessel, while avoiding transferring too much trub from your kettle.
- Check your Original Gravity (OG) with your (sanitised) hydrometer, and make a note, so later you can calculate how strong your beer is.
- Add your yeast, seal your fermentation vessel, and pop-in your (sanitised) airlock.
That’s it. Nothing too tricky, right?
Hopefully, you now have a good idea of what is BIAB, and also just how easy it can be to get started with All Grain brewing. Remember, if I can manage to make a decent All Grain beer using a BIAB setup, so can you!



 How do you read a hydrometer?