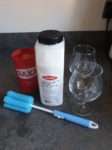
If you are thinking about getting into brewing your own beer, you are probably wondering what beer brewing equipment you should get.
Perhaps you are on a tight budget and don’t want to buy anything that is not essential.
Or maybe the DIY ethos is partly the appeal for you, and you’d like to make as much of your beer brewing equipment as you can.
Or possibly you’ve done some research, and have seen some shiny, fancy and expensive equipment, and are wondering if you should get it.
I recommend starting small, only buying what you absolutely need to begin with. There’s no point in buying an all-in-one All Grain brewing system until you know that this is a hobby obsession addiction you’re going to stick with.
Then again, there’s no sense in cutting corners unnecessarily. Buy only what you need, but aim for higher quality.
That being said, let’s talk about the absolute essentials.
The Essential Beer Brewing Equipment if You’re Starting With Extract-Based Ingredient Kits
If you’re using an extract kit, this the beer brewing equipment you’ll need:
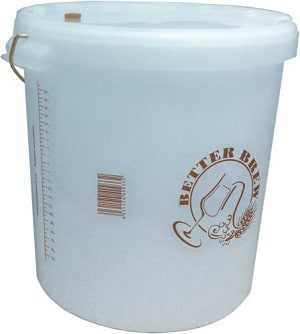
A Fermentation Vessel
The most basic and essential of all of your beer brewing equipment, you can be sure that everyone who ever brewed beer needed something to ferment it in! You may choose a (food grade) plastic bucket with lid (around £10 to £15), a glass carboy (£20 to £30), or a stainless steel one (£100 and up). I suggest you start with a 25L plastic bucket (since most kits are designed for 19L to 23L batches) with easy-to-read measurements on the outside.
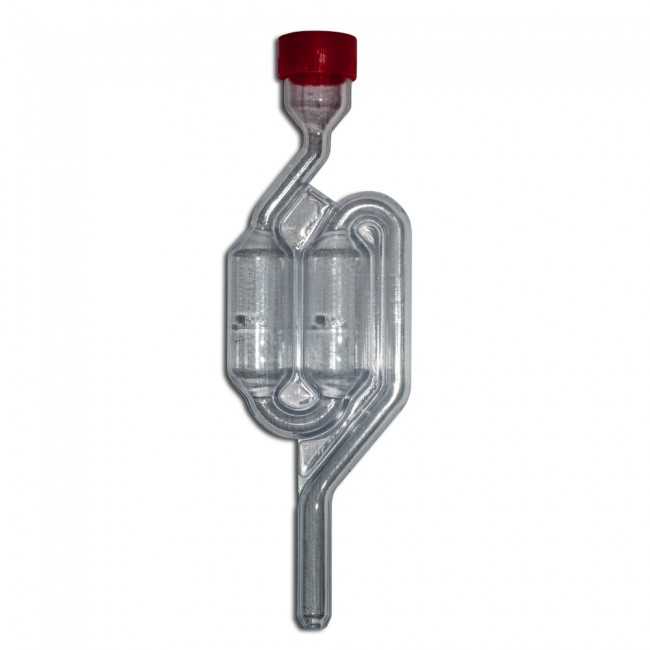
Airlock
This will allow gases to escape from your fermentation vessel, while stopping bacteria or other nasties from infecting and ruining your beer. Around £2. Depending on your choice of fermentation vessel, you might need a rubber bung to go with it.
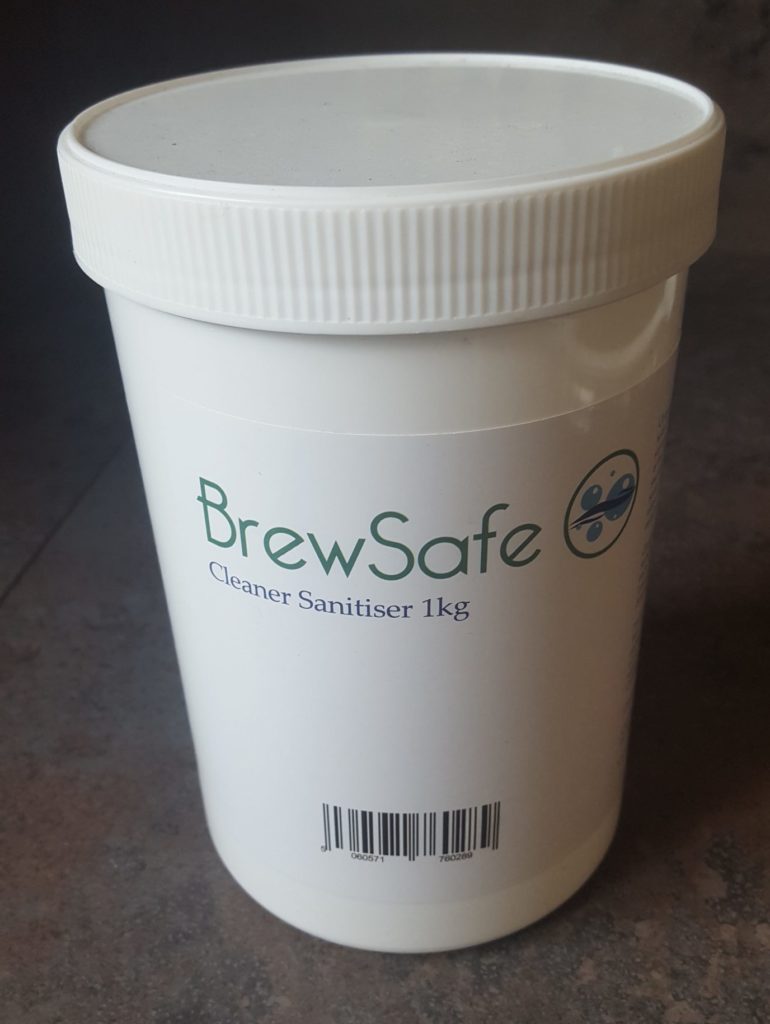
Steriliser
No-rinse steriliser is ideal. Make sure whatever cleaning products you use are unscented, which rules out your normal household products. Nothing is more important than making sure your beer brewing equipment is clean and sanitised.
A Bottling Bucket
You’re going to have a choice whether to bottling your beer, or keeping it in a cask. If you go for bottling – and this is what I’d recommend to start with, you want a bottling bucket. This is basically a bucket with tap attachment. A little bottler is a good addition to this, to avoid your beer getting too much oxygen contact during bottling.
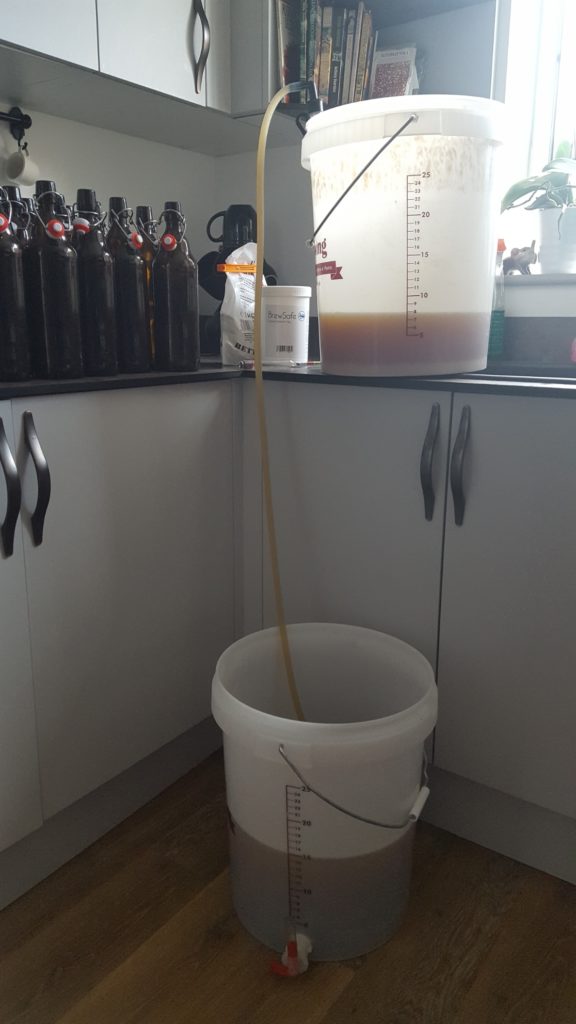
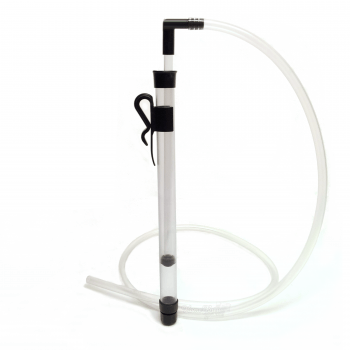
An Auto Siphon
A much easier, and hygienic way to transfer your beer from your fermentation vessel into your bottling bucket, or straight into a cask if that’s your preference. Costs about £12. Otherwise, you could use plastic tubing, which would cost around £1 per metre. But an auto siphon will be less bother.
Don’t worry about how to use one – I use one frequently, and am quite ashamed to say I’ve got no idea how they work – you are going to need one.
If you’re curious, siphons were used in Egypt as far back as 1500 BC
Thermometer
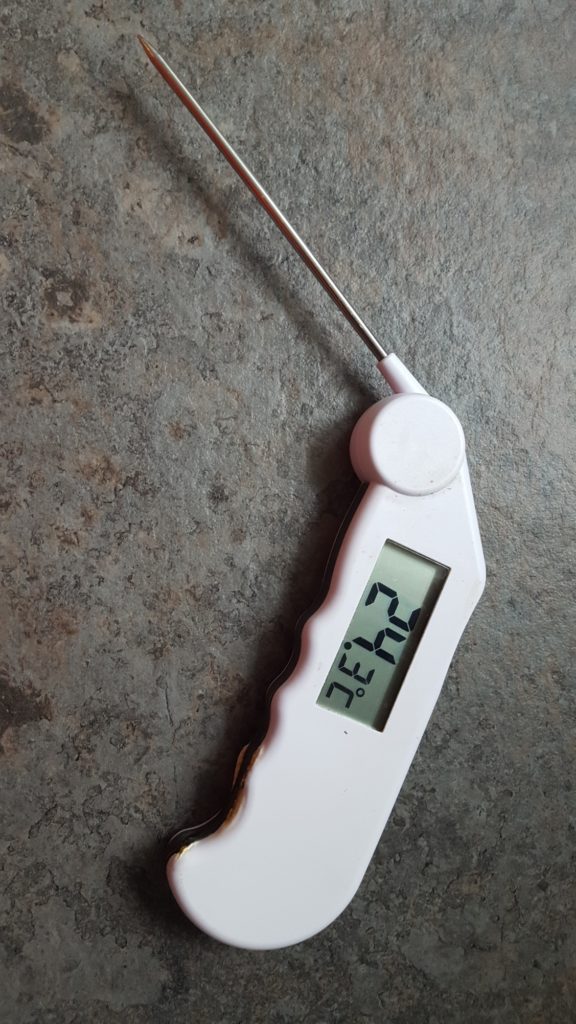
Analogue or digital. Yeast needs certain temperature ranges to do its job. Making sure that your wort is at the right temperature, and so is your yeast when you’re pitching it, is crucial to your brewing success.
Hydrometer
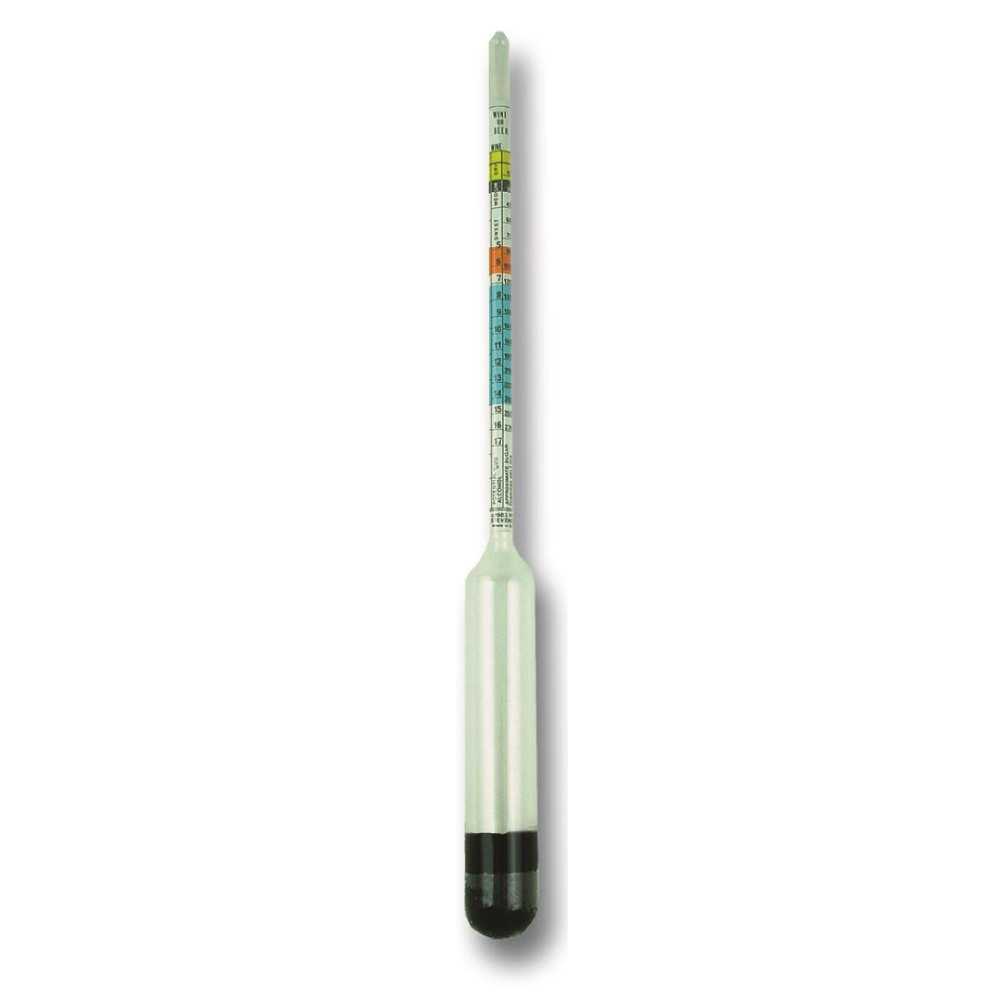
You will need your hydrometer to know when fermentation is complete, and also if you want to know how strong your finished beer is. (See here for how to read a hydrometer…) Costs about £4.
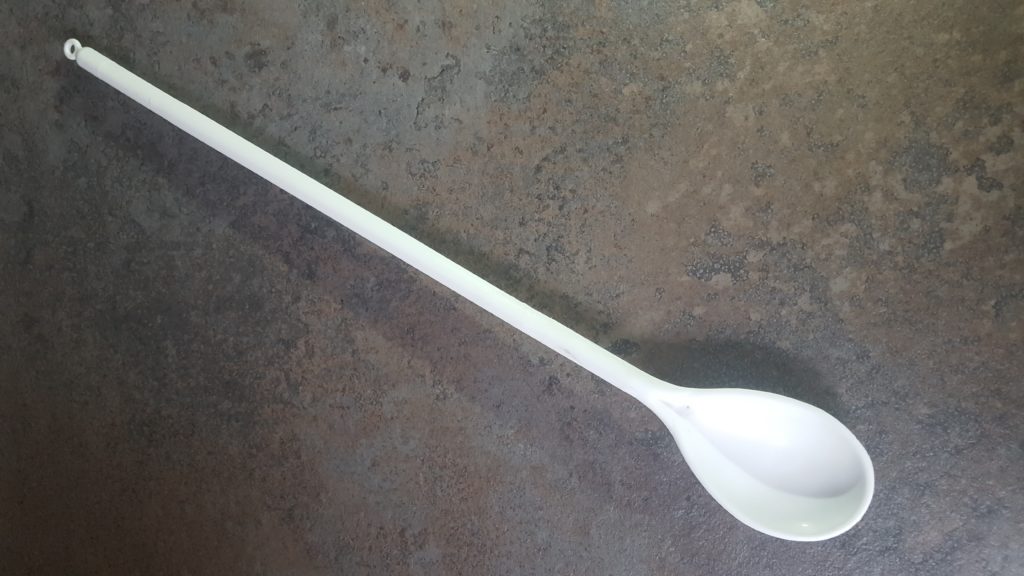
Brewers’ paddle or a long spoon (plastic or metal, not wood)
Pyrex Jug
When you buy a beer kit, the instructions will usually tell you to sprinkle the yeast directly onto the wort. This is because it’s easier, but easiest isn’t always best. So ignore the instructions and rehydrate it properly, to get the maximum amount of viable yeast.
Heat Management
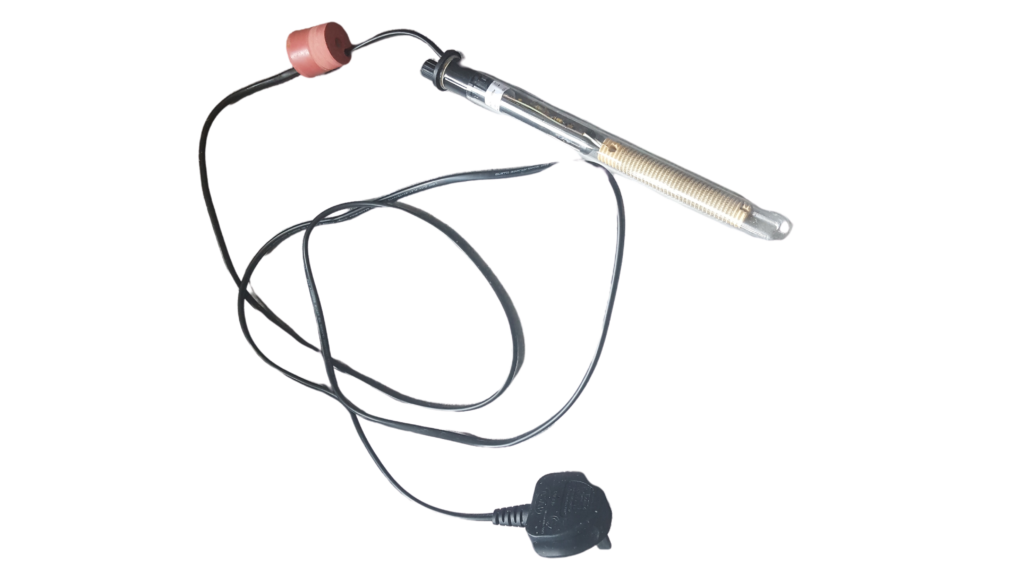
Optional, but helpful in winter, are some gadgets to help with heat management. For yeast to be active, it needs reasonably constant temperatures. You can help keep your yeast happy by using an immersion heater (around £30) in your fermenting beer. (In which case you’ll need to adapt your bung to accommodate the immersion heater as well as your airlock.)
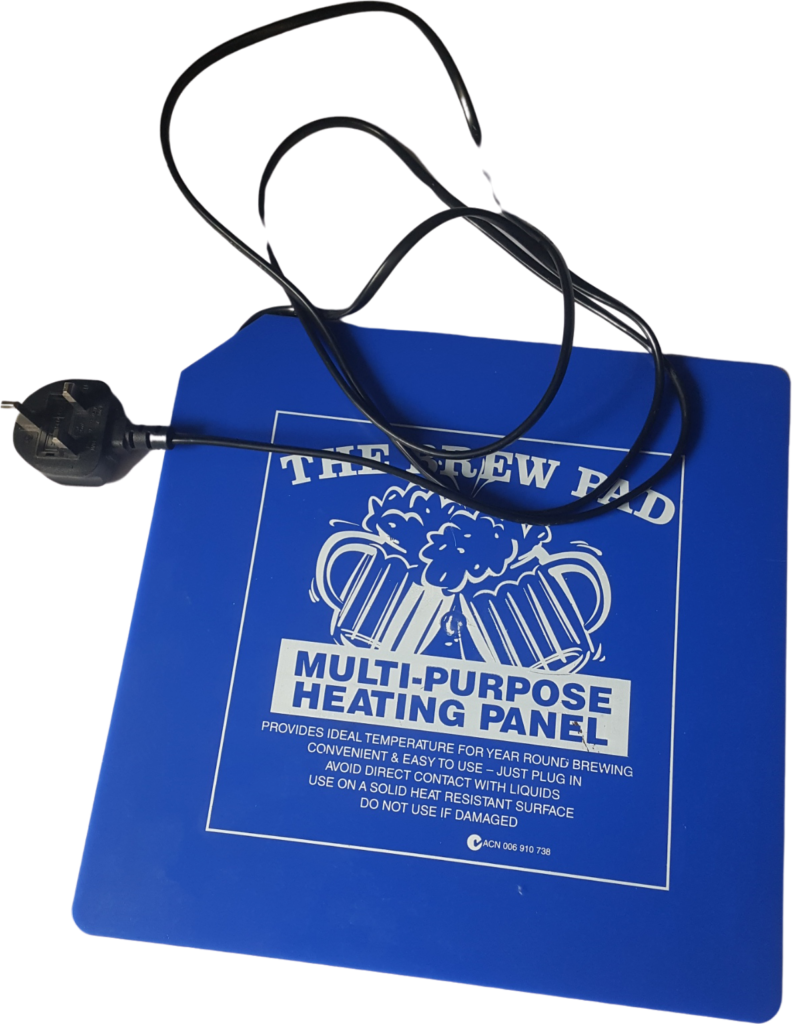
I find heat mats, (around £30) are ideal for secondary fermentation of your bottled beer. If you don’t use an immersion heater, you could also put a heat mat underneath your fermentation vessel.
The Essential Beer Brewing Equipment for Extract Brewing
Okay, so please take it as read that you’re going to need a fermentation vessel, air-lock, hydrometer, thermometer, jug for yeast, spoon/paddle, auto syphon etc, as above.
When you brew from kits, the malt extracts will have already been boiled, with hop additions, by the producer.
To brew from extracts, without using kits, you’ll need to boil the extract, with your chosen hops.
For that, you’re going to need:
Large Stockpot
How large the pot needs to be is determined by the batch sizes you’re planning to make. 15L to 20L will most likely do you.
Make sure your stockpot is sturdy, and has a base thickness of least a couple of millimetres, unless you want your wort to catch and burn.
Hop Bags or Hop Spiders
I suppose you could put your hops in a tied-up sock, but a hop bag is a more elegant solution.
Grain Bag
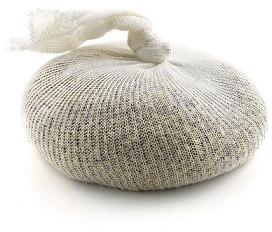
Chances are, soon after you start extract brewing, you’re going to want to start adding some of what we call specialty grains.
If you don’t, even if your beer’s perfectly drinkable, it will be a little one-dimensional. By adding extra grains, you will be able to give your beer an added complexity – a bit of “oomph”, if you will.
To add specialty grains, you will be steeping a bag of grains in your wort. Think making a cup of tea using a tea bag, and that’s fairly close to the process.
You’ll need a grain bag for this.
Wort Chiller
As soon as you start boiling wort, you create a bacterial risk. No bacteria can live in a boiling wort, but as it cools down your wort becomes at risk.
So you should ensure that its temperature is lowered as quickly and efficiently as possible, rather than allow any bacteria to get a foothold before your yeast gets going.
There are several different options for this, from placing your wort into an ice bath, to using a wort chiller. An immersion wort chiller is one of the more basic methods – you simply run cold water through a copper coil that is then placed in your wort.
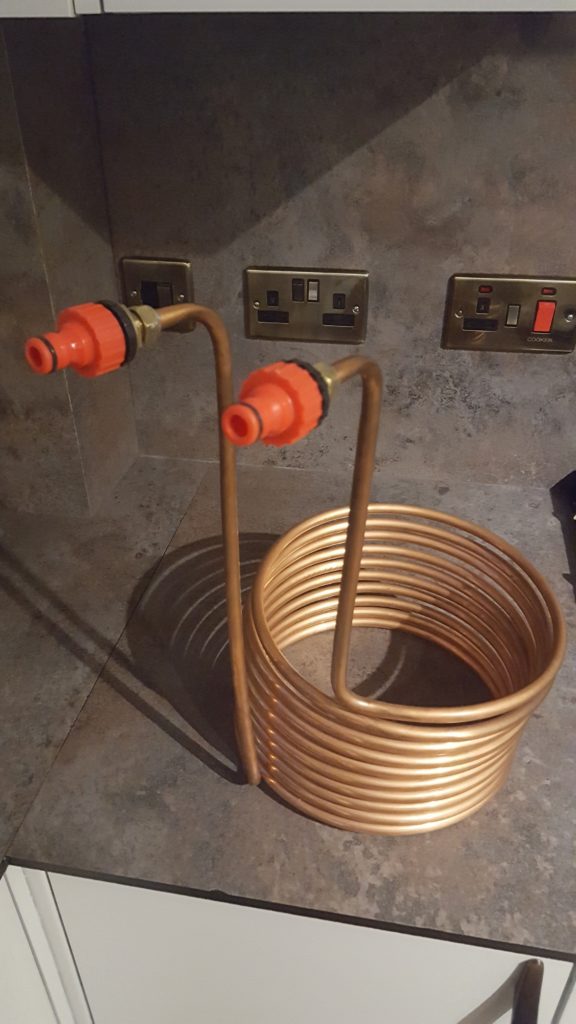
Now, you could just let your wort cool down overnight, and it will probably be alright. But it is a matter of time before you face the disappointment of a ruined batch.
Essential Beer Brewing Equipment for BIAB All Grain Brewing
Now, to be clear, I generally brew All Grain, but only using the Brew-in-a-Bag method.
Therefore, I am far from being any kind of an authority on All Grain brewing equipment.
The equipment you can choose to buy for All Grain brewing varies wildly, depending on the scale, and level of automation, so most of the available gear lies way outside the remit of this post. I’m only going to introduce you to the more guerrilla-style of All Grain brewing equipment. Sorry!
So, in addition to the basic set-up of fermentation vessel, air-lock, hydrometer, thermometer, jug for yeast, spoon/paddle, auto syphon etc, you’re going to need:
Mashing/Boiling Vessel
So, the BIAB method does away with some of the equipment and associated brewing stages. This means we’ll be using the same vessel for mashing grains as for boiling your wort with hop additions.
There are several different ways to approach this:
BIAB can be done on top of your stove, in your kitchen, with a big stockpot. The disadvantage to this is that it might take quite a while to get 25L of wort boiling on a lot of conventional stoves.
Also, when I first tried this, I discovered the not-inconsiderable amount of steam generated is enough to cause arguments with significant others. It seems we don’t want mouldy walls and ceiling in the kitchen as a by-product of my homebrewing.
The method I settled on is using an electric mashing kettle, which is pretty cheap, at around £70, and has served me well for quite a lot of batches.
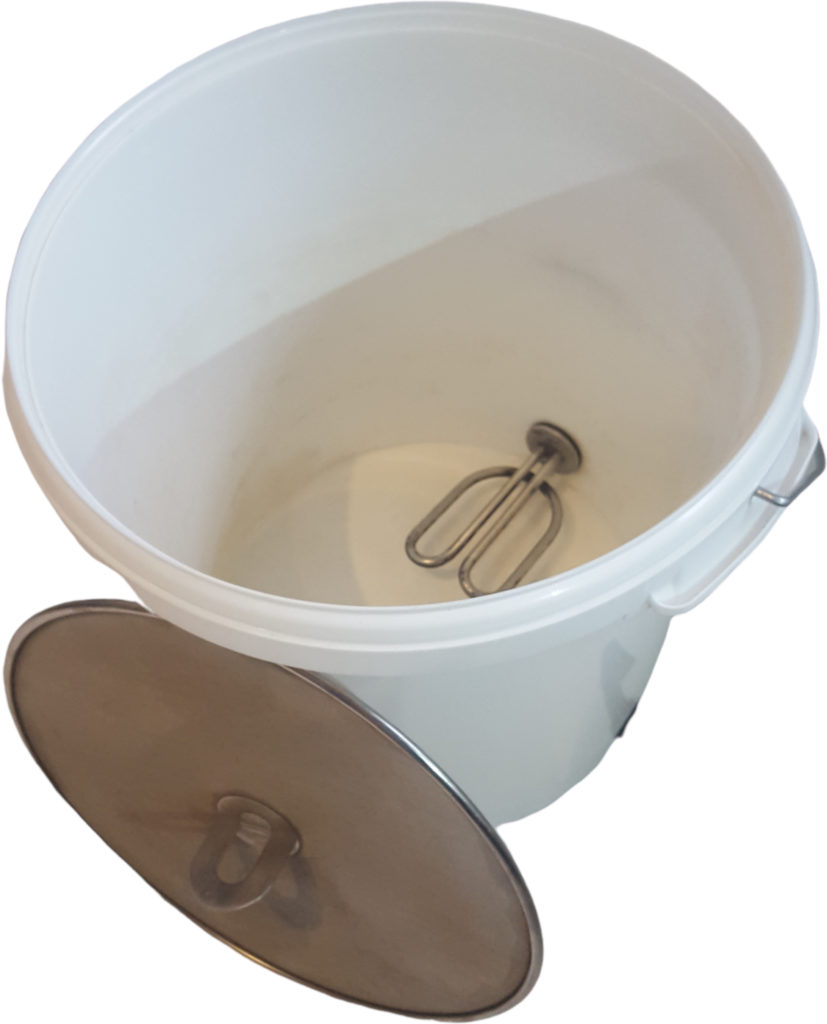
Homebrewers more ingenious than me have made their own electric BIAB kettles. It doesn’t look too complicated, but I don’t think it would save you enough money to be worthwhile. I think I’d probably regret it when my kettle started leaking boiling hot wort!
Another popular, and probably more long-term method is a stainless steel kettle, heated with propane.
Mashing Bag
This is going to be lot bigger than the one you would be using for steeping specialty grains when extract brewing.
It needs to be big enough to fit tightly around the rim of your mashing/boiling vessel.
It also needs to be strong enough to hold quite a few kilograms of grain. You’ll often be using it to hold around 5kg of grain. And when this grain soaks up water – well, I’ve never actually checked how much it weighs, but I’d estimate that the weight easily doubles.
Hop Bags
Again, you’re likely going to want some way to stop hops/hop pellets burning, jamming up your tap, etc.
Now that you’re venturing down the road of All Grain brewing, you’ll probably want to do two or three hop additions per brew.
I hope you’ve found that helpful – as I say, this equipment list is intended for new or relatively-new brewer.
There truly is a wealth of gadgets available, to make your brew day easier, and sometimes, more complicated.
I’ve aimed to stick to the gear that I started with, along with the stuff that I quickly realised I needed.
Don’t worry – once you get into homebrewing, I can personally guarantee that at any one time you are going to be thinking about your next two or three big purchases.

 What is BIAB? Introducing Brew-in-a-Bag, the Easy Way to Brew AG!
