Before your first batch of home-brew is even fermented, you’ll need to decide whether to bottle it or keg it.
I would argue the case for beer bottling. This is quite subjective, but for me at least, there’s simply more romance to popping open a chilled bottle of home-made beer than there is to opening a tap.
Home-brewers who disagree will tell you that beer bottling is time-consuming, tedious, and messy.
It can be, but beer bottling doesn’t have to be.
Anyway, let me take you by the hand, and show you the dark art of beer bottling, and explain the different options.
Choosing which style of bottles you’ll use
You’ll find a number of choices of bottles:
- Cheapest is probably getting your friends to save you their pre-used beer bottles, remove the label, and bottle with a new crown cap.
- PET bottles are a cheap option, and are effective. No-one’s gonna be swooning over the glamour of them, though.
- Buy crown cap type bottles. These will generally cost you around £1 for a 500 ml bottle, which is a popular choice. Crown caps will be bought separately.
- Buy Grolsch-style flip-top bottles. These are usually the most expensive option. I find them more reliable, and you can buy replacement tops and seals when you need them.
- Used champagne/prosecco bottles can be a good choice if you know someone who drinks prosecco like water. (I know someone who fits that description.)
A word of warning – If you are opting to use empty bottles, make sure that were originally used for carbonated drinks. That way you can be confident they’re designed to withstand the extra pressure of carbonation. No spirit or non-carbonated wine bottles…
You’ll also need to make sure that any recycled bottles are not the “twist-cap” type.
Bottle Colour
If you’re collecting your friends’ empties, then beggars can’t be choosers.
But if you’re buying the bottles, it’s worth considering why beer bottles always used to be brown.
That’s because brown glass is best at filtering out both natural light and also fluorescent light that would otherwise affect your beer, and cause off-flavours.
Clear bottles are a no-no, unless you can be sure to keep your bottles in the dark.
Green bottles are not much better at protecting your precious beer.
What size is best for beer bottling?
The most popular size for beer bottling is 500 ml. It’s convenient, as it’s just shy of a pint. It will also be the most common size you find yourself with if you’re collecting empties.
I personally like 1 L Grolsch-style flip tops. Mostly because with a 5 Gallon batch, I’m only filling 20-or-so bottles, and not 40.
What beer bottling equipment do I need?
At a minimum, the beer bottling equipment you’ll need are:
- A siphon
- Your chosen bottles, plus lids
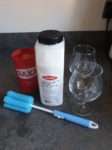
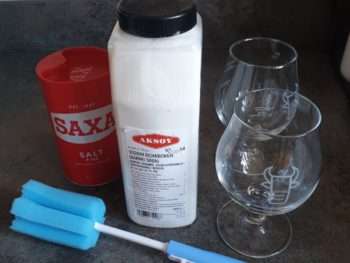
- A bottle brush (sooner or later you’ll find you need to start giving your bottles a quick scrub inside if you want to keep using them…)
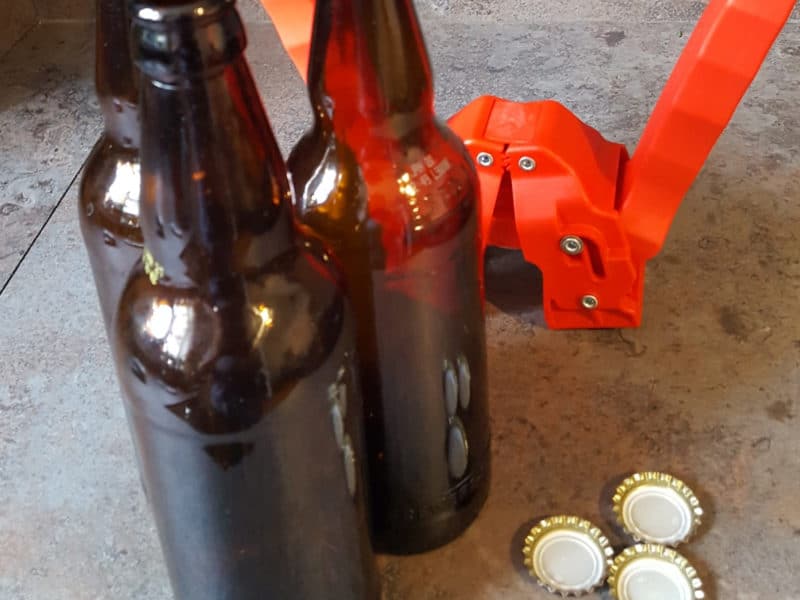
- A Crown Capper, if you’re using crown cap bottles.
You’ll also need:
- Sanitiser
- Priming sugar – My guide to priming sugar can be found here…
Also recommended:
A bottling bucket and a bottling wand attachment for it.
You could bottle straight from the fermentor into the bottles via your siphon. But just because it can be done, doesn’t mean it should.
Why I recommend using a separate bottling bucket and bottling attachment
- If you siphon your beer into a beer bottling bucket, your priming sugar will be thoroughly-mixed with your beer.
- By using a bottling wand, you can direct the beer right to the very bottom of the bottle. This means your beer gets the least amount of contact with oxygen. And oxygen is the enemy of fermented beer!
How to sanitise your beer bottles
It’s important to understand the difference between clean and sanitised.
Cleaning is removing any dirt, dust, or debris. It is important to do this, otherwise dirt can provide places for bacteria to hide from the sanitising process.
After this, you should sanitise your bottles.
Different ways to sanitise your bottles
On home-brew forums you’ll see a number of ways brewers like to sanitise bottles:
- In the dishwasher, on the hottest setting. In principle, this should work. You would need a scrupulously-clean dishwasher first, though. My dishwasher struggles to clean a glass properly, and is better at backing small food-deposits onto glassware that looked cleaner in the first place. And twenty 1 L bottles or forty 500 ml bottles would be more than one load in a lot of people’s dishwashers.
- In the oven. Again, I think you’ll need to do a few batches.
- Brewers’ cleaner-sanitiser. I’m pretty sure it’s just easier to soak the bottles in a no-rinse sanitiser. You’ll be needing to sanitise other stuff, like your siphon, that you don’t want to put in the oven or dishwasher.
Okay, so you’ve made all the decisions you needed to, and you’ve got everything sanitised. (Here’s a quick checklist for bottling day)
Now, I recommend you pour yourself a home-brew, and get some music playing, and you’ll hardly notice you’re working.
Now let’s start beer bottling
Place your fermentor on a work counter, or on top of a bucket. You want the base of your fermentor to be higher than the top of your bottling bucket, as in this photo below. Now gravity – and magic – can transfer the beer from one vessel to another.
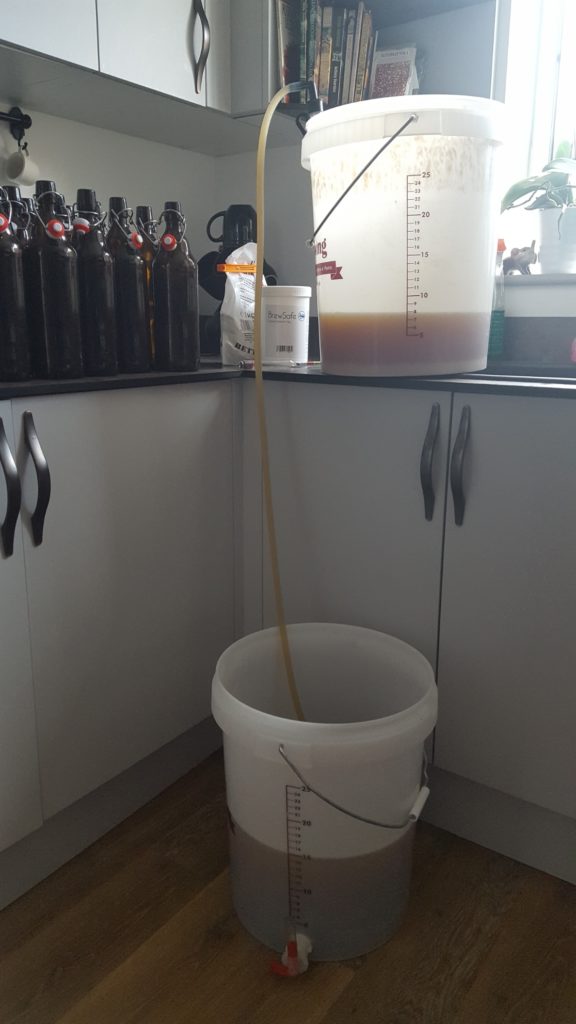
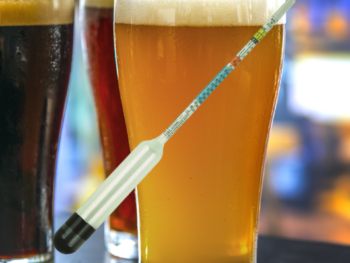
With a sanitised hydrometer, check and make a note of your final gravity (FG). Later, you can calculate the alcohol-by-volume…
On the fermentor-end of your (sanitised) siphon, tie on a sanitised hop bag. (Great for filtering-out some of the sediment.)
Add your priming sugar solution to the fermentor bucket.
Lift the FV end of the auto siphon, and then push down. The beer will now start traveling through the tubing into your bottling bucket, while mixing in the priming sugar.
When most the beer has been transferred – don’t be greedy or you’ll end up with beer that has more sediment than you wanted – you can lift you bottling bucket on to a work counter, attach the (sanitised) bottling wand, and start bottling.
Push the bottling wand right to the bottom of the bottle, and keep it there until the bottle is almost full, leaving a maximum of one inch of empty space. The wand has a spring-loaded pin, and won’t pour unless the pin is pushed-in, which prevents oxidization of the beer.
Repeat, until all your beer is bottled.
Cap your bottles, and place them in a warm place (usually 20 to 30°c, but check what works with your yeast strain) so they can become miraculously carbonated. This will generally take a minimum of between five days.
Now transfer the bottles to a cold place, and look forward to sampling one in a week-or-so.

 How to Use Priming Sugar for Perfectly Carbonated Beer
