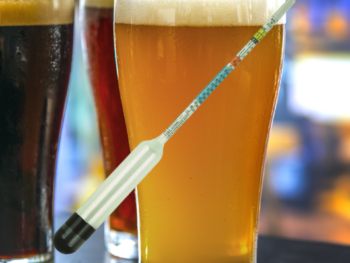
So, you checked hydrometer readings two days in a row, and you’re confident fermentation is finished. You’ve successfully brewed some beer! If you’re anything like me, you may have already had a cheeky taste. And your beer is warm and flat :/
That’s okay, because now you are going to carbonate it, the old-fashioned way. You’re going to bottle-condition your beer, using priming sugar.
The whole process of brewing is kind of magical to me, especially when you’re brewing All Grain.
Yet the moment I open the first bottle from a new batch of homebrew and hear that reassuring pop-and-hiss is always a special moment for me.
Friends, also, often seem surprised and impressed, when you pop the lid of your beer and it sounds just like a store-bought bottle.
I promise they’ll wonder how you carbonated the beer. And the simple answer is priming sugar and bottle conditioning.
So, what is priming sugar?
Priming sugar is the sugar you add to your fermented beer to naturally carbonate it. You’ll do this at the stage where you are packaging it for storage, whether in bottles or in a cask.
Can I use normal sugar instead of brewing sugar?
Brewing sugar is dextrose monohydrate, which is a different type of sugar to normal household sugar, or sucrose. Yeast will be quite happy with either, although priming with brewing sugar dissolves easier, ought to be a bit faster, and will leave less sweetness at the end.
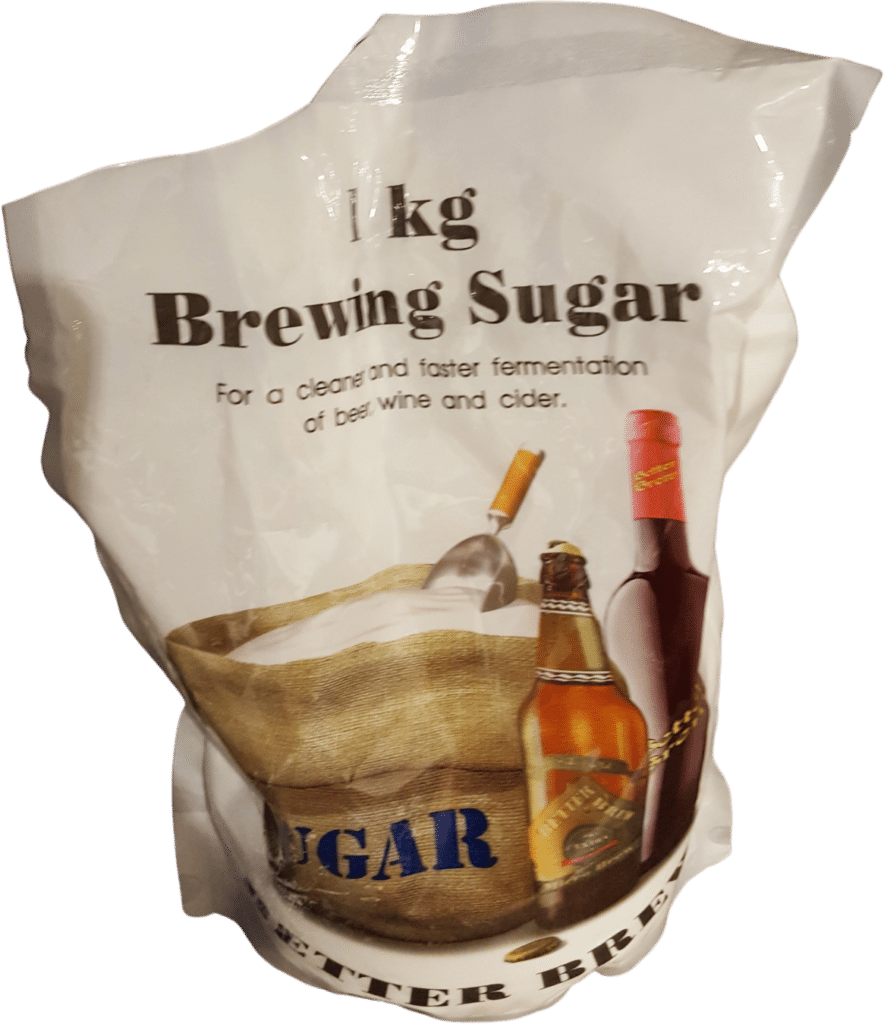
If you’ve run out of priming sugar, absolutely substitute your granulated sugar. You probably won’t be able to tell the difference.
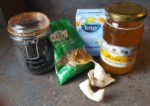
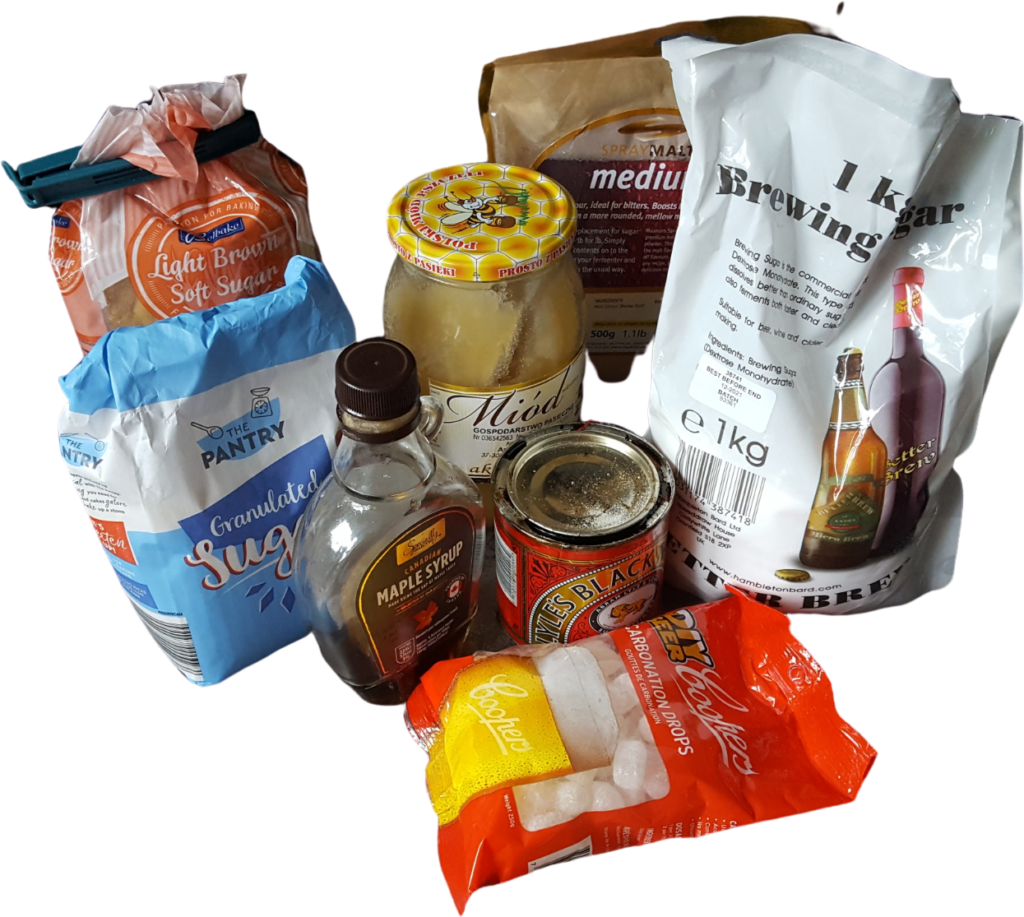
In fact, there are a number of different sugars that can be, and frequently are used in brewing:
- Cane sugar
- Corn sugar
- Dried malt extract
- Brown sugar
- Black treacle
- Golden syrup
- Maple syrup
- Honey
Each of these can have some different impacts upon your final beer, due to their colour, flavour characteristics, and fermentability.
How does priming sugar work?
Although the yeast has consumed all the available sugars in your wort and created beer for you, there’s still hopefully a bit of life left in it. And that’s good, because it has one more job to do.
So now that you are at the bottling stage, you add just a little sugar – not too much – and leave the bottles in a warm place. Around five days should do it.
During this time, your remaining yeast will chomp away at your newly-added sugar, and as by-products will make:
- A tiny bit more alcohol (not enough to notice.)
- Carbon dioxide (CO2)
Because you bottled your beer most the way up the bottleneck leaving just an inch, the carbon dioxide doesn’t have anywhere to go, so it’s forced into solution with your beer. Giving you those sought-after refreshing bubbles.
How much should I carbonate beer?
Partly, how much you carbonate your beer will be a matter of personal taste. If you want your beer fizzier or less so, then it’s your beer.
Unless you’re entering your home-brew into a competition, in which case you may prefer to follow the traditions of your beer style.
| Beer Style | CO2 |
| British ales | 1.5 - 2.0 |
| Stouts and porters | 1.7 - 2.3 |
| Belgian ales | 1.9 - 2.4 |
| American ales | 2.2 - 2.7 |
| European lagers | 2.2 - 2.7 |
| Belgian lambic | 2.4 - 2.8 |
| American wheat beers | 2.7 - 3.3 |
| German wheat beers | 3.3 - 4.5 |
Bear in mind it’s possible to over-carbonate, and under-carbonate, and this will have consequences.
What happens if I use too much priming sugar?
The fizz in beer is a wonderful thing. It makes your beer taste more lively, and the fizz also helps carry the beer’s aromas to your nose. Without carbonation, you won’t get that splendid hit of hoppy goodness.
But you can have too much of a good thing.
Firstly, if you use too much priming sugar, there is a danger of explosions.

These can range from your bottle tops popping off, spraying warm, sticky beer everywhere, to at the more extreme end, your bottles not being able withstand the pressure, and actually shattering. In either instance, you can expect some cleaning-up to do.
Less drastically, over-carbonation will mask some of your homebrew’s subtleties. If you spent a significant amount of time choosing your recipe, with its careful balance of malts and hops, you want to showcase it, not hide it, right?
Higher carbonation levels will boost hop bitterness, beyond a certain point making the flavour harsh and unappealing.
What happens if I under-carbonate my beer?
If you under-carbonate your home-brew, it will make you a bit sad when you open them. It will still be perfectly drinkable, but because you won’t be proud to share it, you may have to drink it all yourself.
Let’s face it, worse things happen at sea.
A lower level of carbonation will also make your beer taste sweeter.
Do you have to boil priming sugar?
You don’t strictly need to boil it to sterilise it. Unless the priming sugar is honey or organic maple syrup, then the industrial processes that produced it will make it quite sterile.
It’s better to boil brewing sugar, though, so that it dissolves fully. This way, you can be sure that your home-brew is consistently carbonated. Although I’m sure there are some brewers who just tip a teaspoon of dry sugar into each bottle.
How much sugar do you need for priming?
Okay, so if you’re a beginner, or lazy like me, you don’t need to spend too much time poring over charts, carefully planning carbonation levels.
So I use a one-size-fits-all medium carbonation approach, which seems to suit most styles.
If you want to get really involved, you can use a priming sugar calculator like this. Having just consulted this, I notice it uses quite different quantities to me…
How much priming sugar for 5 gallons?
So for my standard brew-size, 5 gallons (or 19 litres) I always use 150 grams of brewing sugar, or just over a cup*, dissolved in 350 ml hot water.
(*To be clear, I refer to a cooks’ measuring cup. Don’t use your Sports Direct mug for this…)
Some brewers use a syringe to add the priming sugar mix to each bottle, with 9 ml of the mixture per 500 ml bottle. I did this once. You’re welcome to try it, but you won’t want to do this a second time.
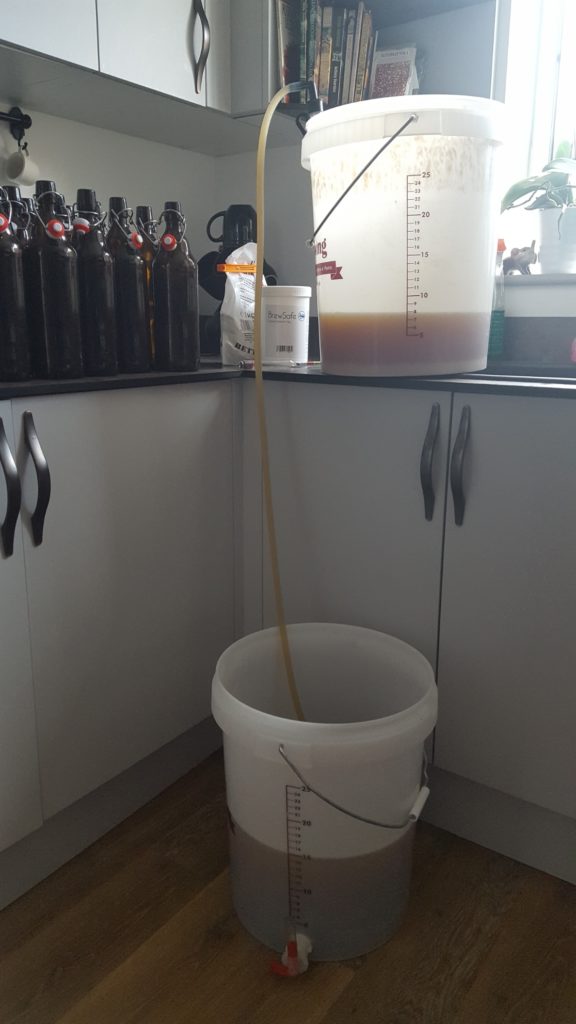
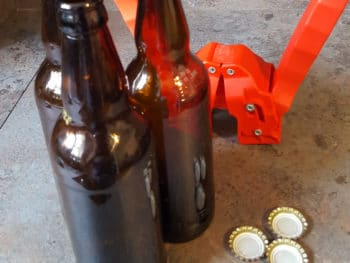
Instead, I put this straight into my fermentor, before I rack into my bottling bucket. This means your priming sugar gets mixed thoroughly into the beer during the siphoning process, so you can be confident that all your bottles will be consistently carbonated.
Easier, and more effective. Now we’re talking!
How much priming sugar for a one-gallon batch?
If you’re brewing in smaller quantities, for instance if you’re doing stove-top brewing, most styles of beer will be fine with 30 grams of priming sugar per gallon.
Priming Sugar vs Carbonation Drops (AKA “Fizz Drops”)
Some brewers use carbonation drops. These are basically like little boiled sweets. You can drop these sugar tablets straight into the bottle.
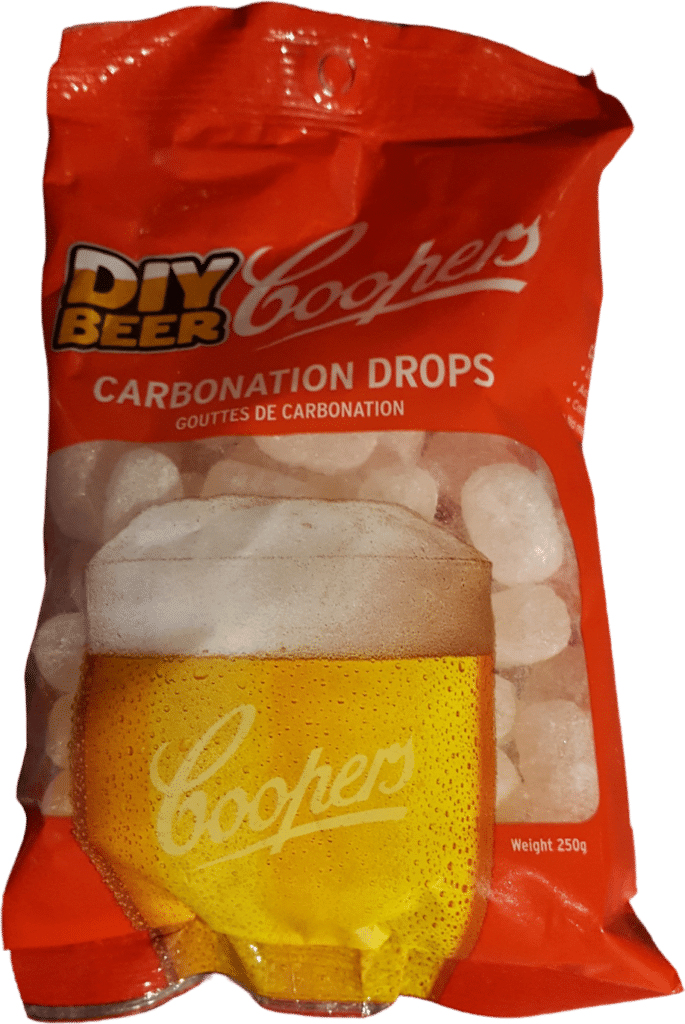
Carbonation drops can seem an elegant solution, but the price of them does rankle.
A litre bottle needs two or three drops. And the cheapest you’ll probably see these is around £3.50 for 60. (I’ve just seen them sold on Amazon for £9.50 for 60. Daylight robbery!) So carbonating your beer could cost 30p per litre bottle. For sugar. (Bear in mind, the rest of my beer tends to cost around 75p per litre, for malted barley, hops, and yeast.)
Also, although the advantage is supposed to be that you have an accurately measured dose, they’re not really the right size for a 500 ml bottle, the most popular size. One drop is not enough, and two is too many.
You can buy brewing sugar, on the other hand, for around £2 per kilogram, enough to carbonate around seven batches of 5 gallons.
So I’d recommend stick to the brewing sugar, and save your money…
Does priming sugar increase alcohol content?
The second fermentation you start with your priming sugar will cause alcohol to be produced along with the desired CO2. However, the amount of extra alcohol should not be noticeable.
How long does it take to carbonate beer with priming sugar?
It’s all downhill from here. Put your bottles in a warm place. The ideal temperature will be similar to your primary fermentation temperature. If in doubt, check the site for the producers of your beer yeast.
For beers using an ale yeast, I’ll often use a heat mat, which cost around £30 each.
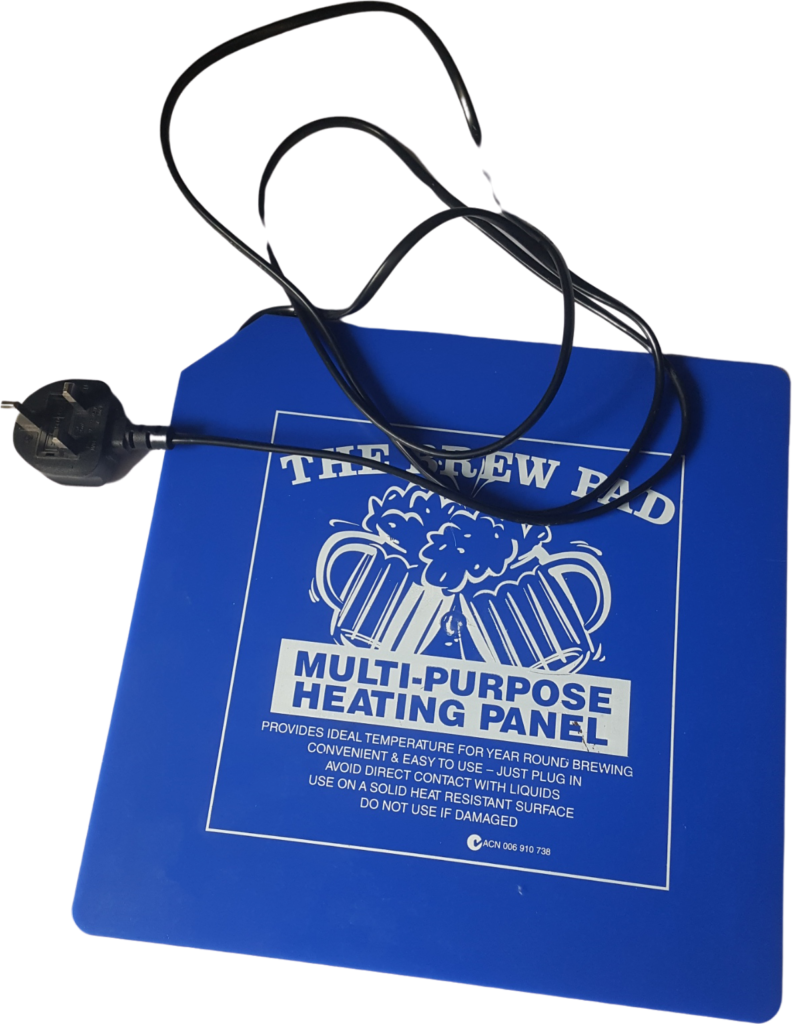
Leave it for a minimum of five days, before transferring into a fridge to condition and clear.
Generally, it’s recommended to leave your beer to condition in your fridge for a couple of weeks.
Personally – and perhaps I’m confiding too much – it doesn’t usually last more than a couple of days before curiosity gets the better of me and I try one.
The good news is that if you are as weak-willed as I, you will get to witness how the flavour of your beer changes and develops as it conditions in the fridge.
…At least, that’s what I tell myself.

 Proper English IPA – Brew Day 16th June 2020
